Oil painting is considered by many to be the supreme discipline of the fine arts. On the one hand, many important art museums and collections have mostly paintings hanging on their walls, on the other hand oil paintings are sold at horrendous prices on the art market today. The following pages describe the subject from different perspectives.
Table of contents
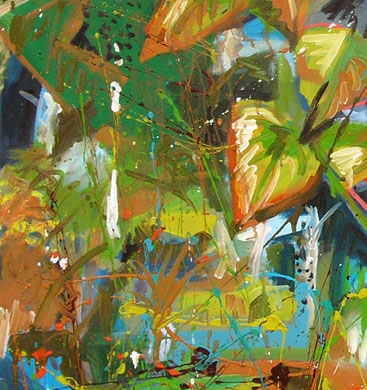
Oil painting - Structures of paint
- Introduction to the subject of oil painting (see below)
- Material for oil painting
- Canvas / stretcher frame
- Build your own stretcher frame (manual / tutorial)
- Stretch canvas on stretcher frame (Instructions / Tutorial)
- priming of the canvas for oil painting
- Canvas, cotton, jute or nettle?
- Wooden panel as an alternative to canvas
- What format?
- Buy canvas / stretcher frames - what to consider?
- Oil paint
- Colour values of oil paints - what should one pay attention to when buying?
- Oil paints manufacturer - which are the best oil paints?
- Tubes, cans, pigments? How are oil paints offered?
- Where to buy oil paints?
- Brushes
- Which brushes are suitable?
- Hair brush
- Bristle brush
- How to wash / clean oil paint brushes?
- Ppainting knife
- Canvas / stretcher frame
Oil painting sunset (1989, 130 x 100, oil on canvas)
- Further aids for oil painting
- Painting palette
- wooden pallet
- plastic pallet
- tear-off pallet (made of paper)
- Painting materials
- Balsam-Terpentine Oil
- Linseed oil
- Linseed oil varnish
- Brush cleaner
- Use turpentine substitute for cleaning
- Easels
- Differences of the easel types
- Studio easel
- Portable easel
- Field easel (for sliding into each other, portable)
- French box easel (like Field easel with painting case)
- Table easel
- Presentation relay
- Mini relay
- Build your own easel
- Painting palette
- Paint with oil paint
- Sketch, preliminary drawing
- undercoat
- From dark to light?
- Prima Painting
- Pastos painting with oil paint
- mixed media
- The drying process
- Seal oil painting with varnish
- How to store oil paintings?
- Quality of oil paintings - how to evaluate (criteria)
- Find your own style
- Selling oil paintings - what to consider?
If some articles are not finished yet, please visit this page again soon. I'm sitting on it right now :-) Here a view into my studio:
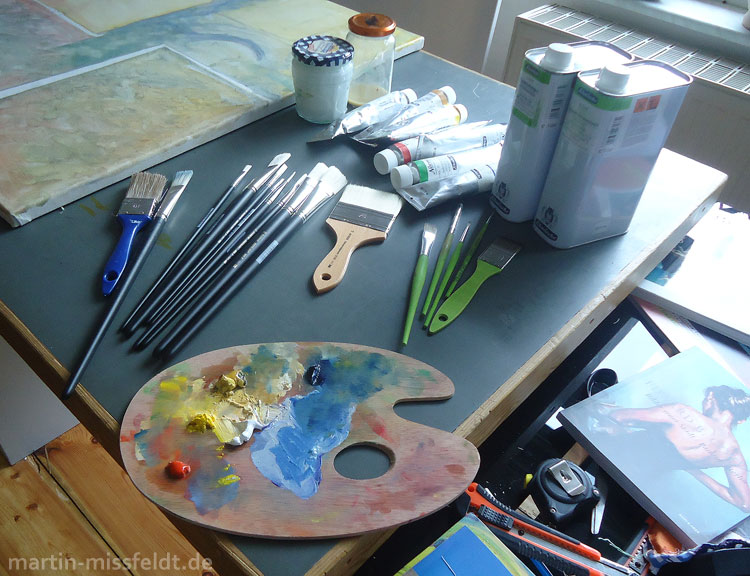
View into the studio
Introduction to oil painting
Oil paint stinks! It is greasy and leaves bad stains. Basically, oil paint is a very impractical painting material. Compared to oil painting, watercolor painting is much "cleaner": you can paint and clean everything with water, the pictures on paper can be stored much easier, the technical possibilities for material experiments are basically more diverse - at least for beginners. Nevertheless, oil painting is considered the non-plus-ultra of art history...
See also: History of oil painting.
What kind of pig stuff ...
Whoever approaches the subject of oil painting - painting with oil paint - should keep the "external", material-related difficulties in mind. Paint only in a room (studio) that is well ventilated! You should never paint in your own apartment unless you can really close the doors to the bedrooms and living rooms tightly. Always place an underlay under your oil painting workplace! Oil paint is extremely difficult to remove from carpets, tablecloths, pillows, and so on. The same applies to work clothes: put on old work clothes beforehand: Painter's gowns, old trousers - even shoes are usually worn out once a few splashes of oil paint have been absorbed into the leather.
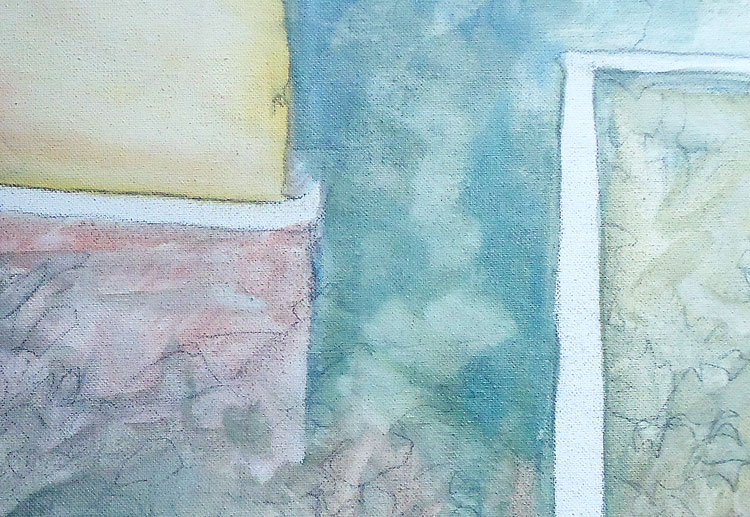
Oil painting: preliminary drawing and background painting
The first basic equipment
If you have now prepared a suitable environment, the next obstacle comes: The entrance into oil painting is relatively expensive. However, this is hardly any different with watercolor painting. Because you just need a basic equipment: besides the easel there are the oil paint tubes, some brushes, some solvents as well as the paint carrier, so a canvas or a suitable wooden plate. This will quickly earn you several hundred euros, depending on how ambitious you start.
Easel or not?
An easel is initially the largest financial item. However one gets an academy relay already for approximately 80 euro. Alternatively, you can take the first steps by painting the picture lying on the table (a cheap PVC tablecloth, which you can get in drugstores, is a good alternative). A really good, stable Altelier-Staffelei is then not only expensive, but also takes up a lot of space. Otherwise, you can also get a field relay, which of course you can also use indoors. Since the legs can be pushed in mostly, one can also build up these Satffeleien on tables and clamp a picture carrier.
Colours of the basic equipment
For the colours it is usually sufficient to get 5-6 tubes of oil colours first. I would recommend the following colours as an introductory set:
- White (you usually need a lot of it)
- (Lights) Ochre (basic colour often used for mixing)
- cyan
- vermilion
- Cadmium yellow (you need a lot of it if you want to paint green clay)
- Chromium dioxide green or permanent green (you usually don't need much of this because you mix it with yellow)
- Ivory black (rarely necessary, can be little) - instead often a dark shade offers itself: Prussian blue or Vandyck brown
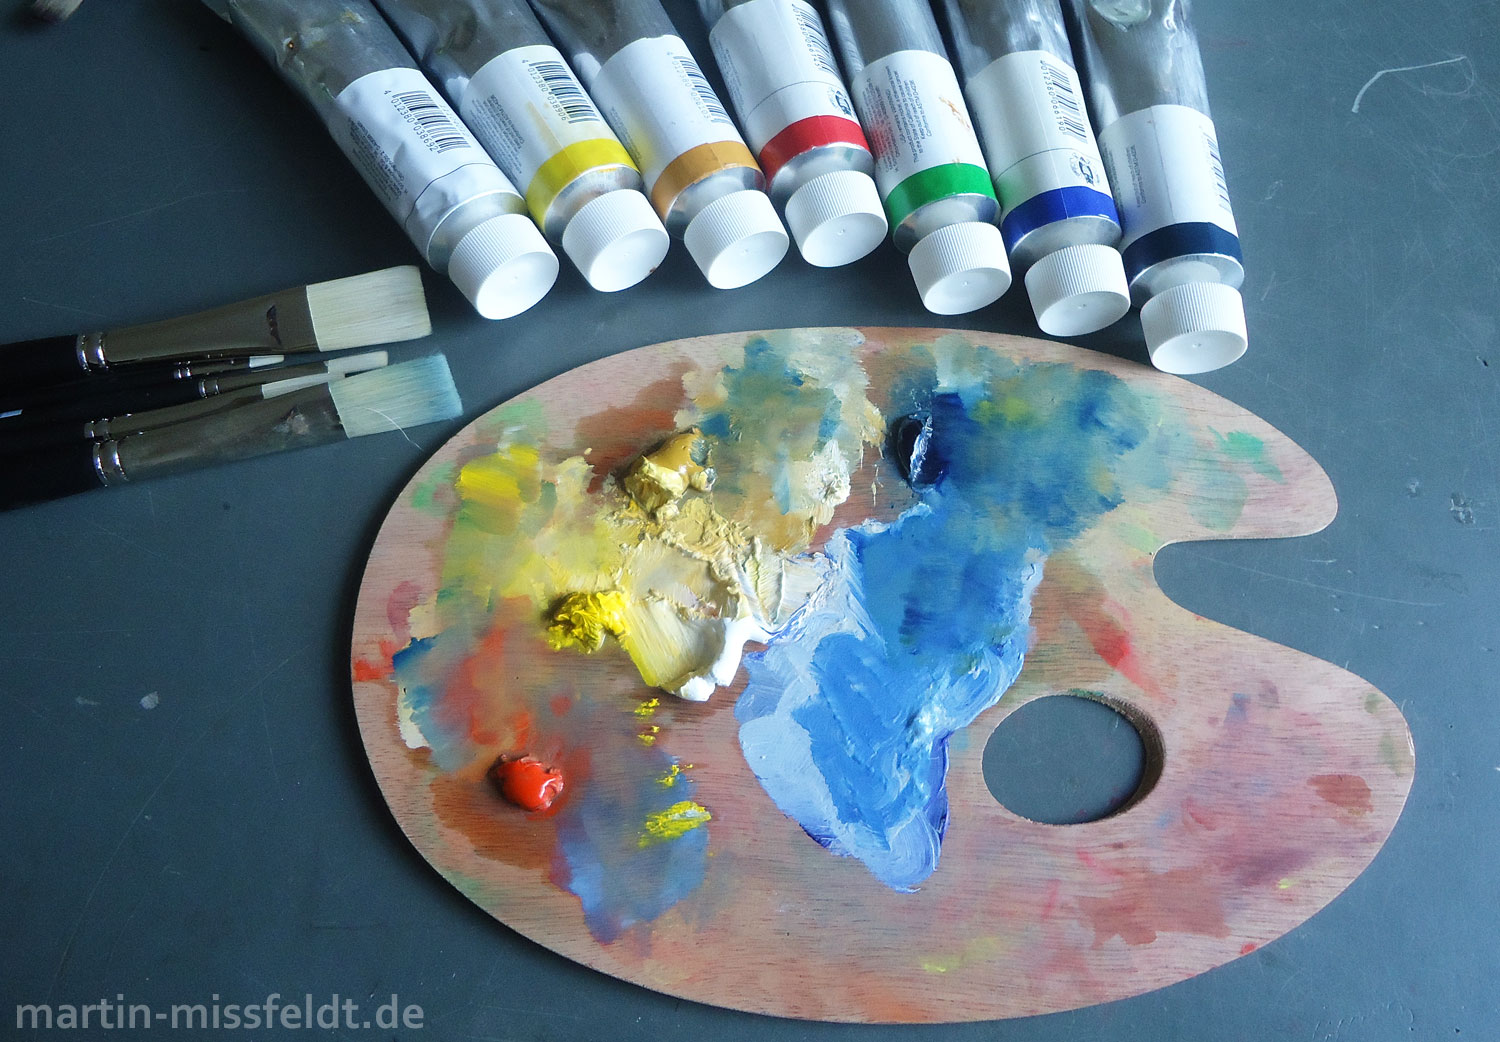
Oil painting technique: oil paints, colour palette and brushes
Oil paints starter sets
Almost all manufacturers offer "oil paints as a set", so-called starter oil paint sets. They are a good gift, because they offer the appropriate storage box - but this is often ineffective in painting technique, because - as I said before - certain colors are consumed much more than others. In addition, these ink fountain sets usually contain colour tones that you usually never need: Basically, you can mix all the colors from the basic colors.
Brushes for beginners
Let's first assume that you buy a ready primed canvas to get you started. Then you don't need a priming brush, just the paint brushes. Since oil paint must be cleaned with solvents, only certain brush types are really suitable. The brushes are usually marked with the appropriate material. The super expensive (and good) red marten brushes, which are used for watercolor painting, are out of place for oil painting.
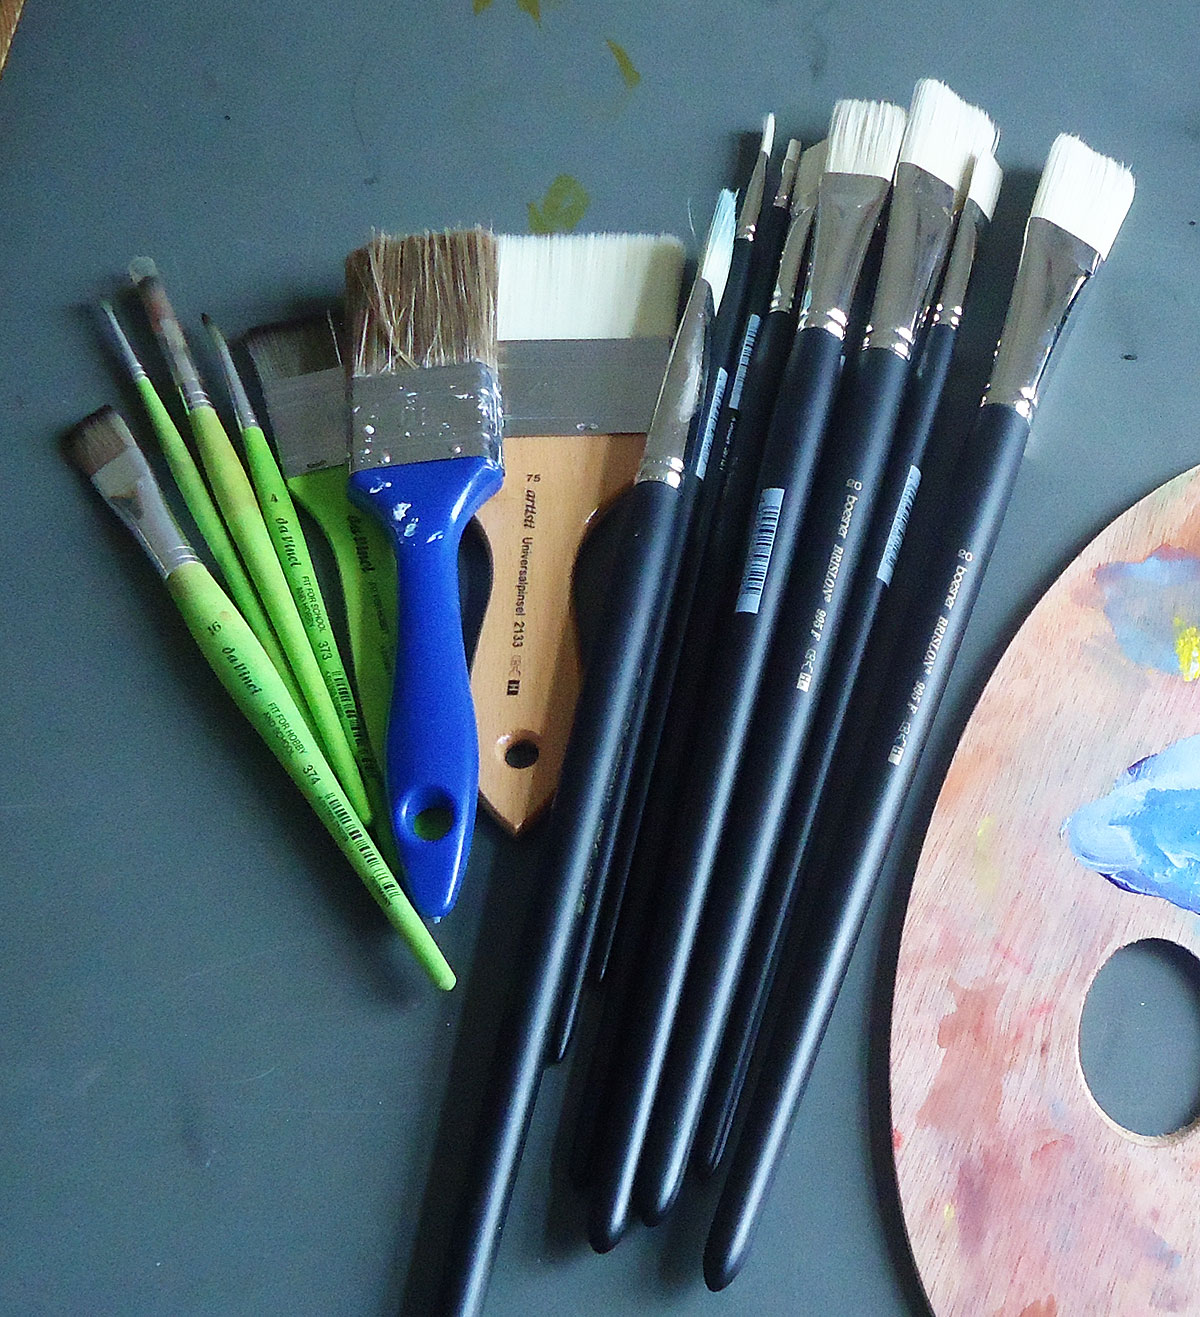
Ölmalerei Pinsel
In principle one can distinguish between hair brushes (with a finely tapered brush tip) and bristle brushes (which form a broad side at the end). Hair brushes are usually suitable for smaller, finer paintings, while bristle brushes are used for fast gestural painting. To make it clear: Dürer painted more with a hair brush, van Gogh more with bristle brushes.
The starter set includes at least three brushes: a fine one (brush thickness 3 - 6), a medium one (brush thickness 7 - 10) and a wide one (brush thickness 12 - 18). One should consider however that this serves first of all the self-discovery and/or the material documents. If one has decided on a certain brush type and a preferred width, one usually needs approx. 4 - 6 brushes: one for each color. Therefore, painters often hold several brushes with different paint tips in their hands, with which they also hold their palettes.
The painting palette
The decisive factor in oil painting is the mixing of colours. Usually a colour palette is used for this purpose. It is usually made of wood (or plastic) with an oval opening on one side with which it can be held. Advanced painters then often switch to having a (often rollable) painting table with a glass or plastic top. There you can then mix the colours very extensively. Who paints very large formats, mixes the colors in cups. So start collecting yogurt cups.
How the colors are arranged on the color palette is basically irrelevant. However, there are certain combinations that have proven to be suitable. Many painters place white in the middle because it is basically needed for all colours. Around the outside the basic colours are arranged in the order of the rainbow:
- Yellow
- green
- Blue
- Brown
- red
If you use black on the palette, you have to be very careful with it, otherwise the colors "gray" very quickly. It is recommended to paint with white on the inside and black on the outside.
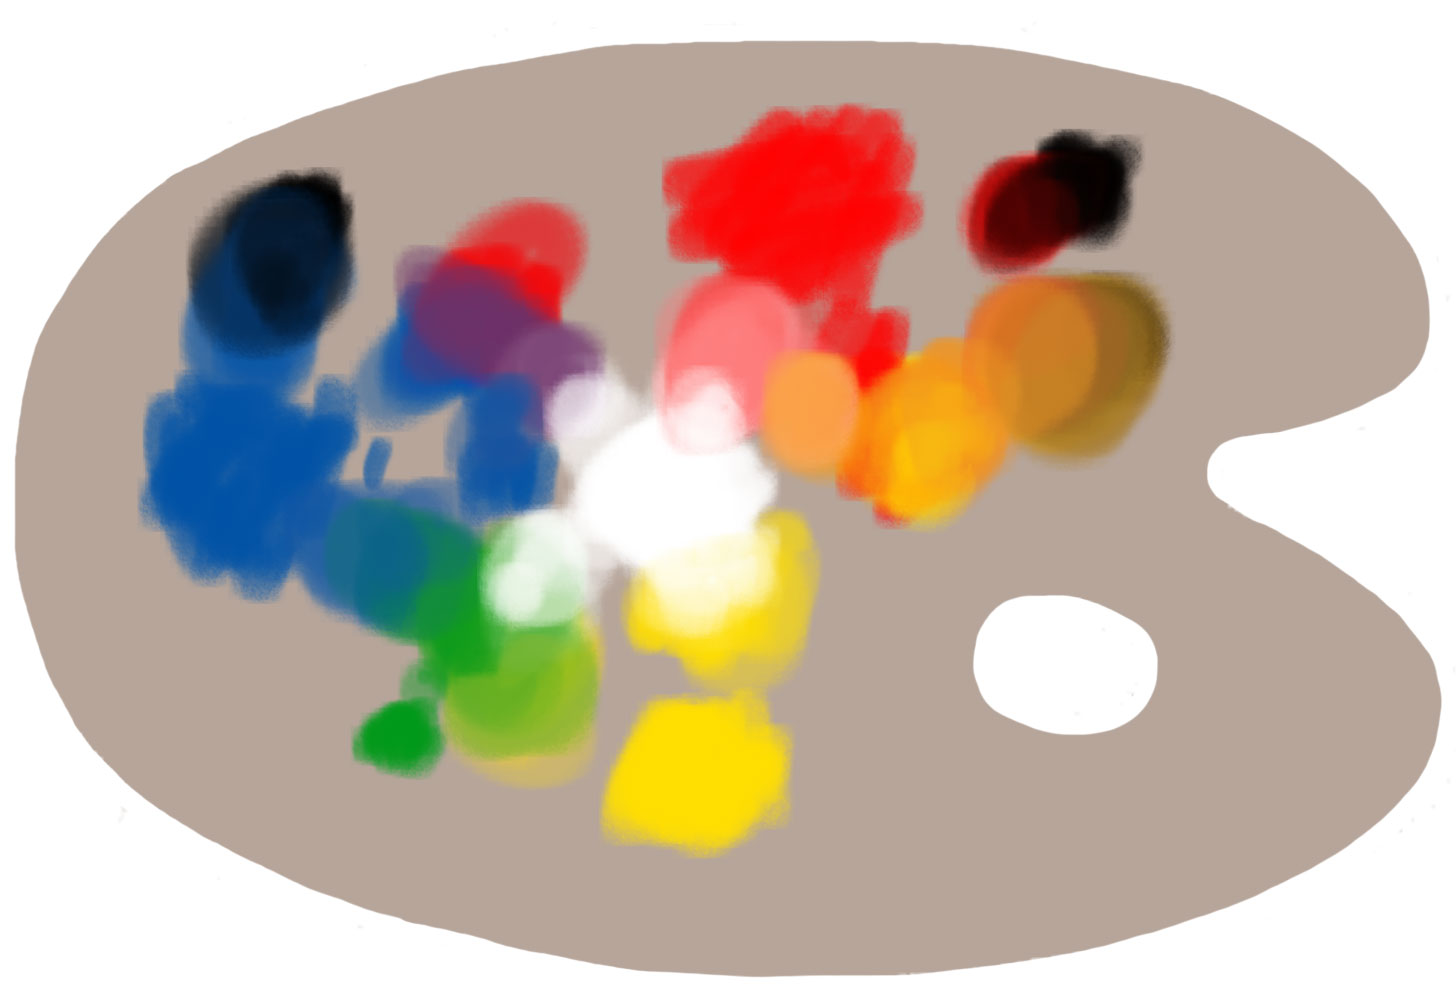
Arrangement of the oil colours on a colour palette (standard, ultimately dependent on the image)
Allerdings ist diese Anordnung nirgends in Stein gemeißelt. Im Gegenteil: im Grunde hängt sie davon ab, welches Bildmotiv man malt. So sieht die Farbpalette eines Portraitmalers komplett anders aus als die eines Landschaftsmalers.
Paint the first oil painting
Basically, the following applies to all artistic techniques: first try it out and get to know the material and tools. But many have a high demand on an oil painting: it has to be super. Often it's precisely because of this inner pressure that you lose the fun of it. Of course: the material and the canvas cost money, but of course it should be fun in the first place.
Who always starts to paint the first oil painting, should keep in mind: the colors, which one uses, and the first canvas, cost together perhaps 8 - 12 euros (one does not consume all colors immediately). That's about the cost of a visit to the cinema. So if you miss out on the first picture, you simply save yourself the next visit to the cinema - and that's it.
Excessive respect for oil painting, the fraying in details often lead to dissatisfaction with the first oil painting - and that spoils the desire to continue. Therefore: fresh to the work, with desire and mood. Practice makes perfect, and the first oil painting must naturally be a catastrophe.
Have fun with oil painting.
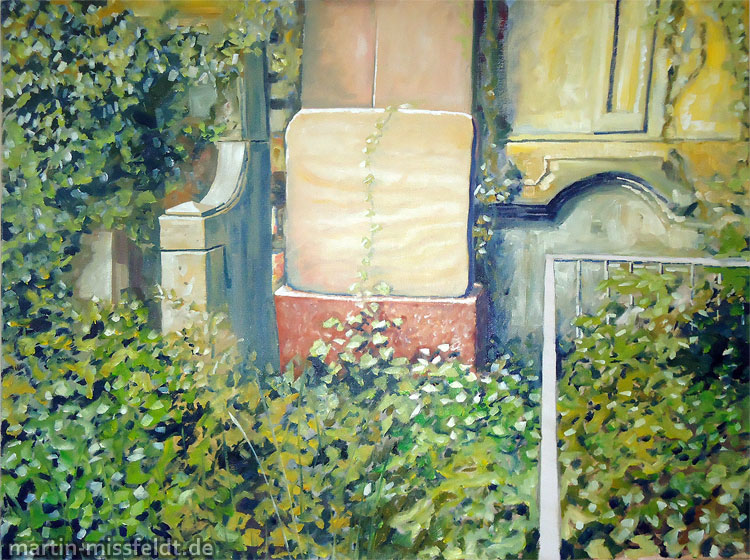
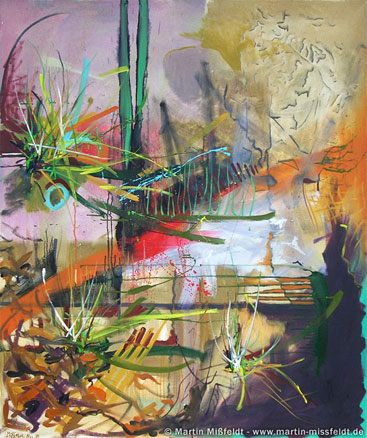
"The Tomb of the Unknown Painter", 70 x 100 cm, oil on canvas, 19.9.2015